Loader Options
ChairFBI offers two ways to deliver a professional loader experience to your customers: a default loader you can fully brand from the panel, and a C++ project powered by our SDK for stores that want complete control over design and behavior.
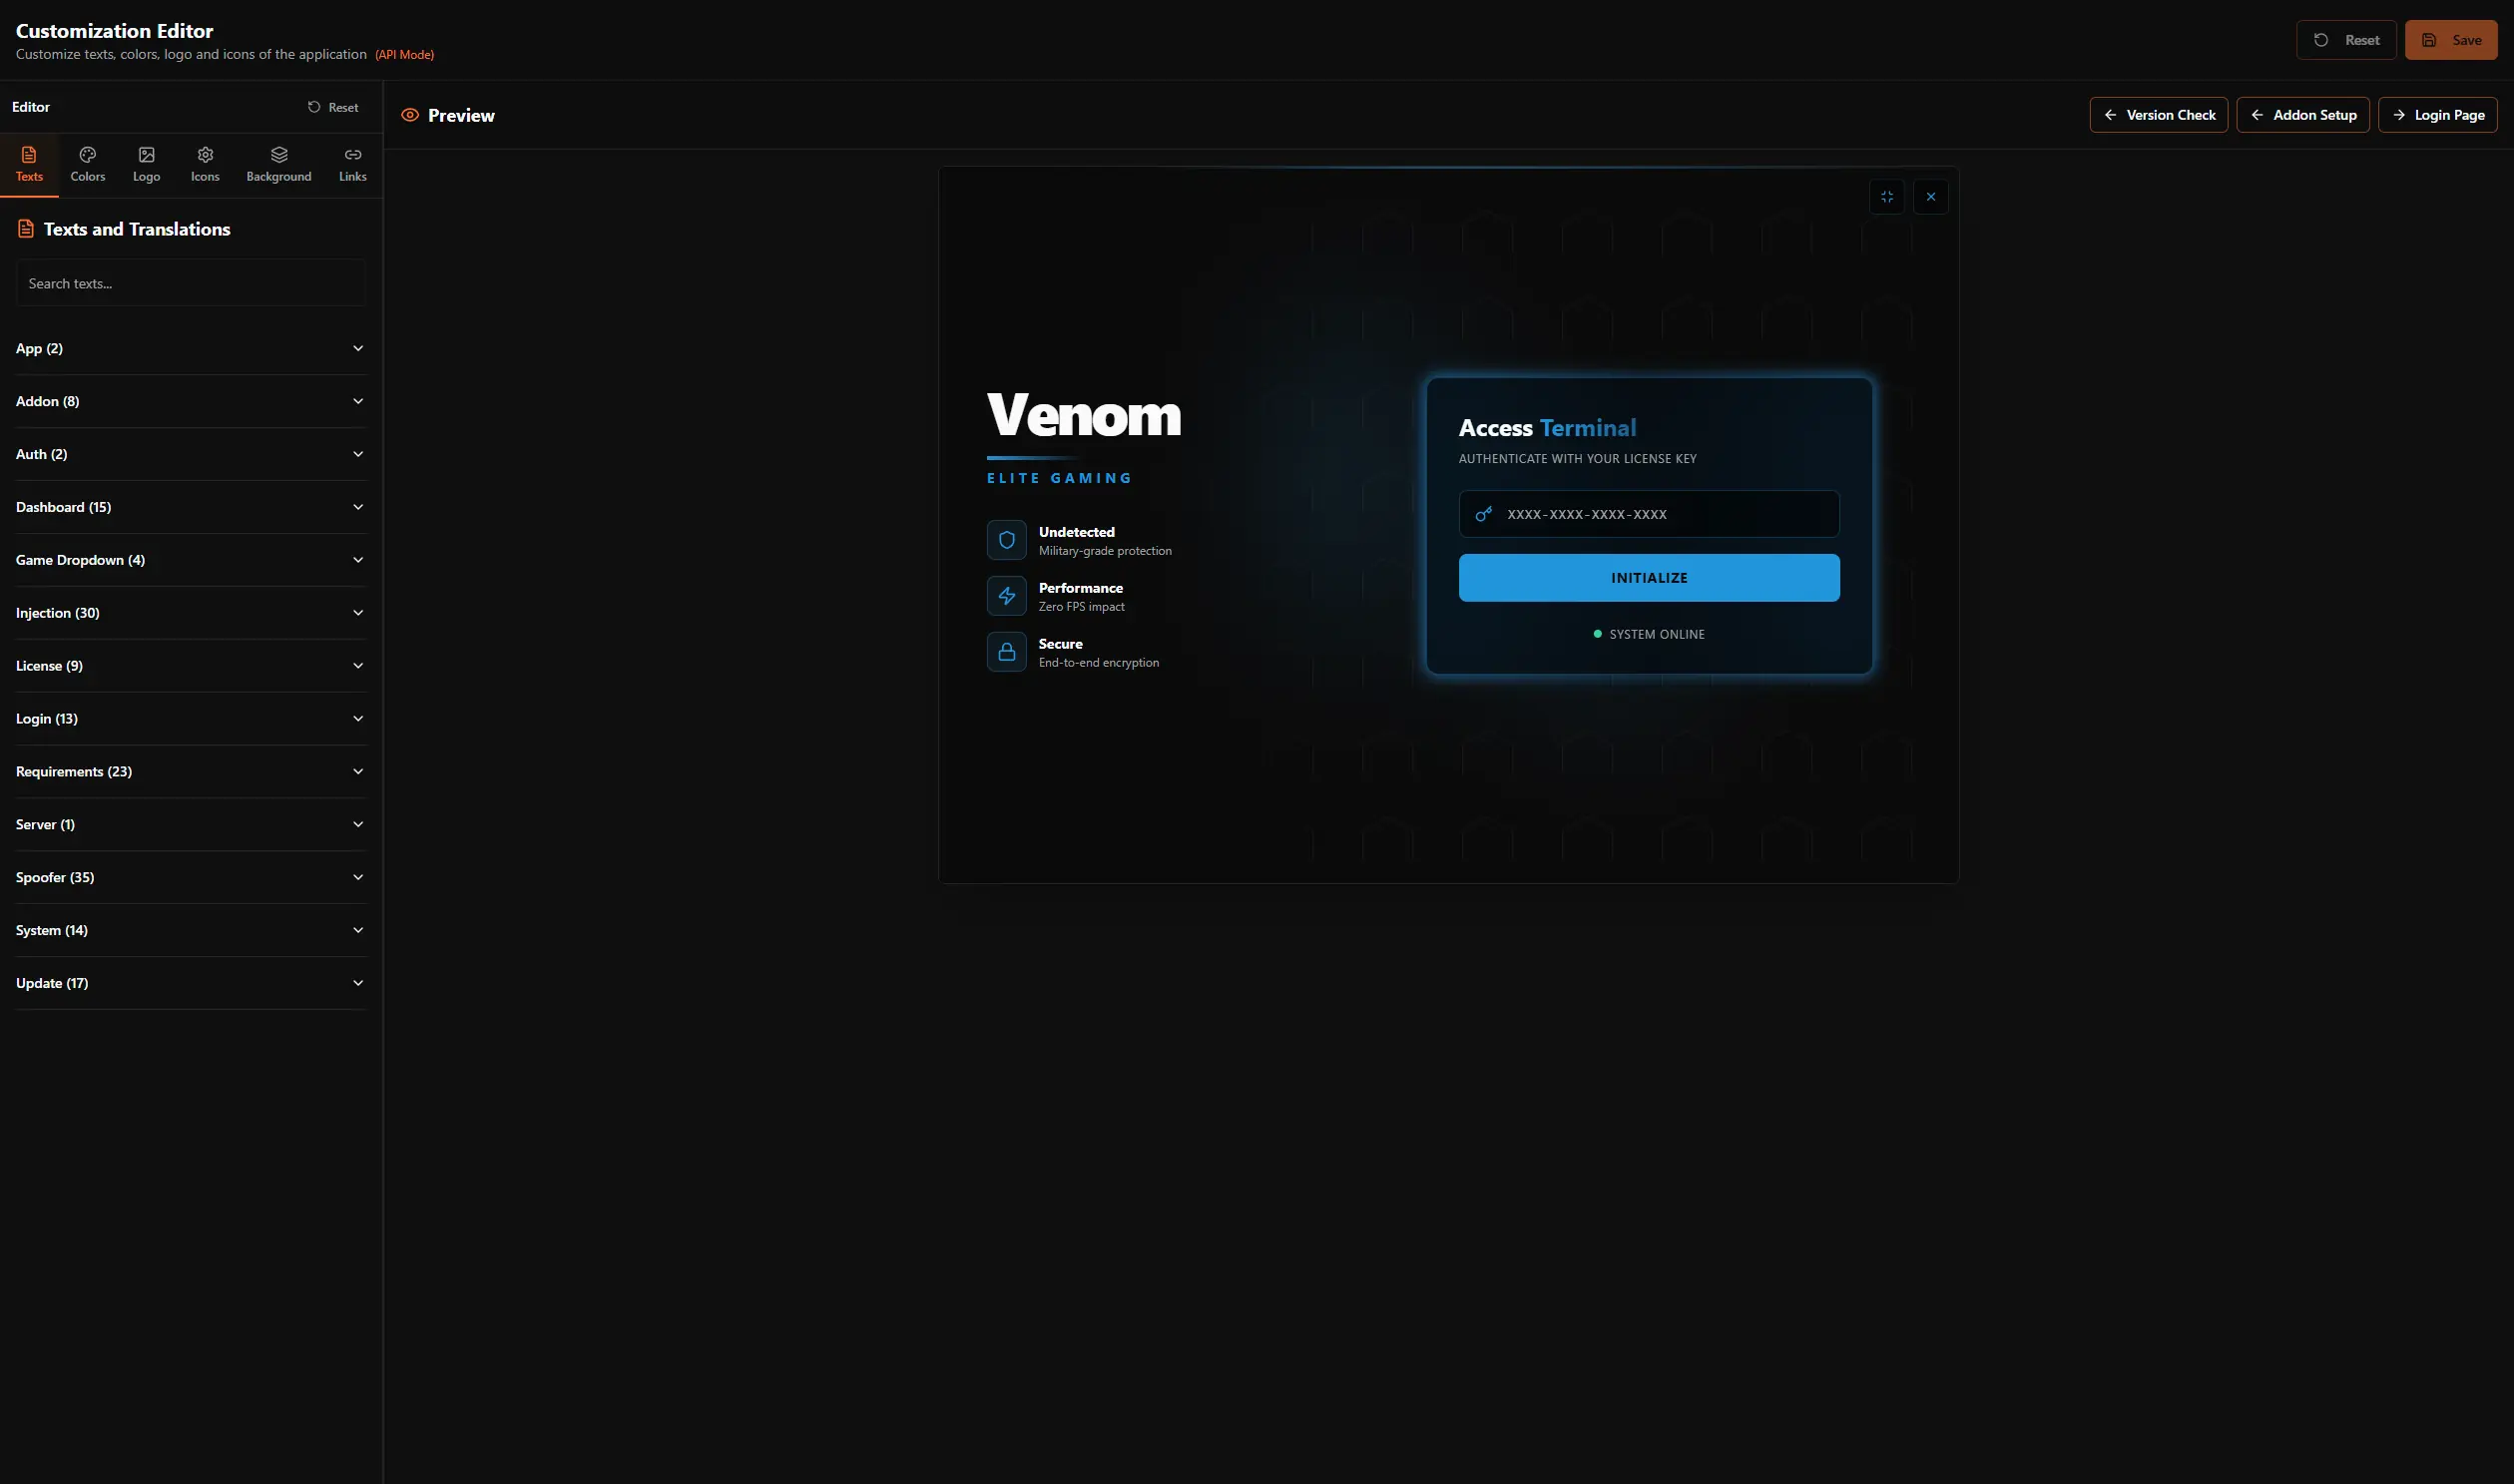
Default Loader Customization
The default loader is ready to use and can be customized entirely from a page inside the reseller panel. You can match your brand design without touching code while still using the same secure, battle‑tested core as other ChairFBI stores.
Highlights
- Full branding control: configure texts, translations, logo, colors, icons and background to match your store identity.
- Live preview: see all changes applied instantly before building a new loader binary.
- Per‑feature configuration: fine‑tune pages such as login, requirements, server selection, updater, spoofer and more.
- Secure distribution: each build is tied to your store through unique tokens, which helps prevent unauthorized use.
The default loader is a good fit if you want a polished experience with minimal engineering work while still presenting a fully branded product to your customers.
Custom Loader with ChairFBI SDK
For stores that need full control over UX, rendering technology and integration, we provide a C++ project based on the ChairFBI SDK. This option lets you build your own loader UI while delegating all the critical logic to our backend: authentication, injection, spoofing and server management.
What the SDK‑powered loader offers
- Own launcher experience: build a fully custom UI that matches your game, brand and community.
- Same backend as the default loader: authentication, cheat delivery, spoofing and server logic are all handled by ChairFBI.
- Full control over UX: decide how users log in, see status, manage updates and interact with your product.
- Built for long‑term projects: ideal for stores that already have C++ developers and want a loader that feels completely unique.